Hey my beautiful nail art lovers! We are here with another post with nail ideas that you are going to love. There are thousands of different nail design ideas for summer but we are always in search for the best ones. Today, in the pictures below you will be able to find 17 super cute palm tree nail designs and a super simple tutorial for how to do them. What screams summer more than palm trees?
Have you seen palm tree nails before? Like I said, they are so cute and the most important thing is that they are fairly simple and easy to do. At first it may look tricky but with a long striping brush and a few flicks you can look down at your hands and pretend you’re in Barbados. This perfect summer nail designs can be done in blue hues for a seascape look or reversed with reds and oranges for a sunset sky, or you can create the ombré effect using a sponge. It all depends on you.
Tips and tricks: 1. The amount of pressure you use when painting your lines will affect how thick they are. More pressure creates bold, thick lines (like you want for the tree trunk) and light pressure creates thin flicks of color (like you want for the palms).
2. If you have enough room on your nail, do two trees! A tall tree and shorter tree will fill up any empty space.
3. Don’t over think it! Nature isn’t perfect or exact, so don’t stress too much about the placement of your flicks.
4. You can also add birds to your nails, but if birds aren’t your thing try a couple clouds or a little sun in the corner.
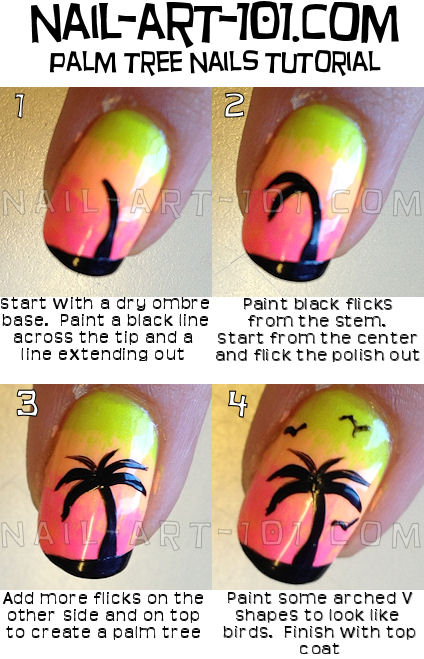
Photo via: nail-art-101.com
So my beautiful ladies, take a look at the gallery below with some amazing palm tree nail designs! Maybe even get a palm tree design on your nail next to really celebrate the summer.
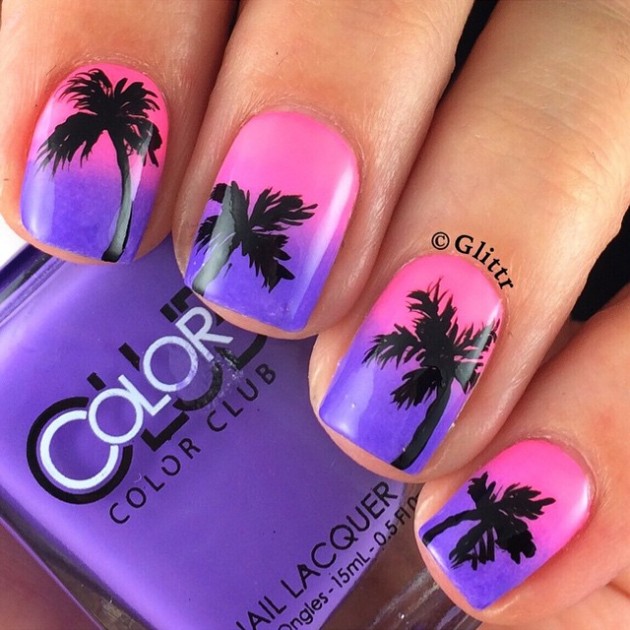
Photo via: ink361.com
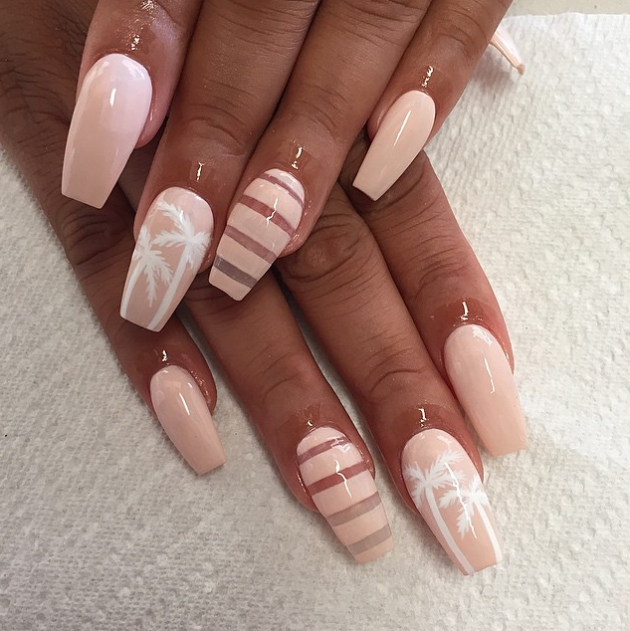
Photo via: iambeverleeee.tumblr.com
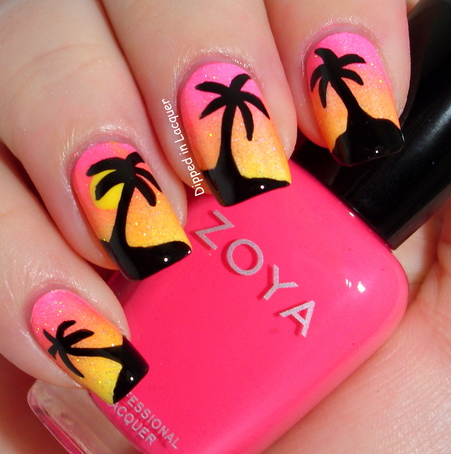
Photo via: thehunt.com
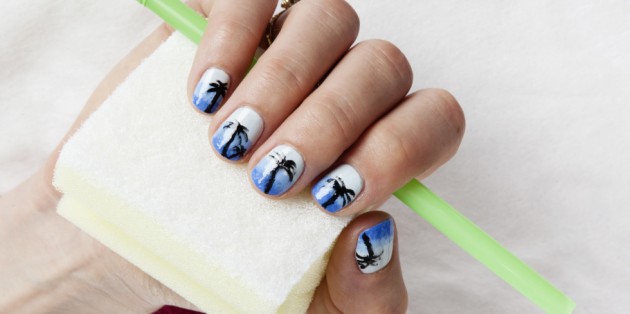
Photo via: cosmopolitan.co.uk
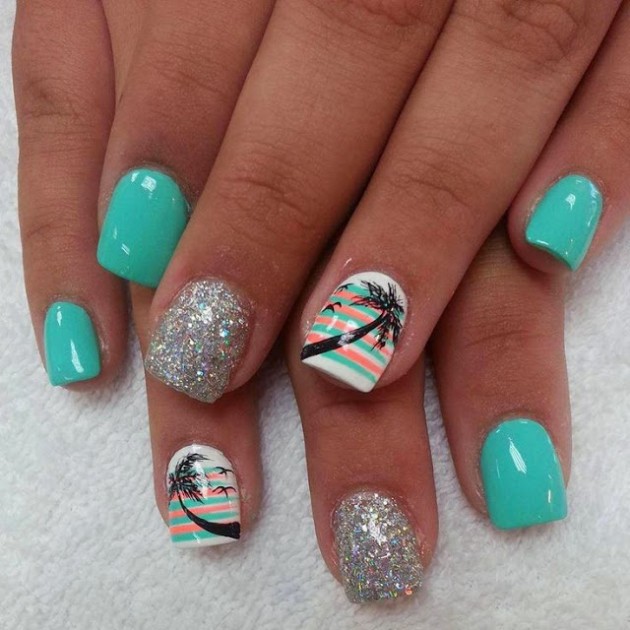
Photo via: loredanamanciu.blogspot.com
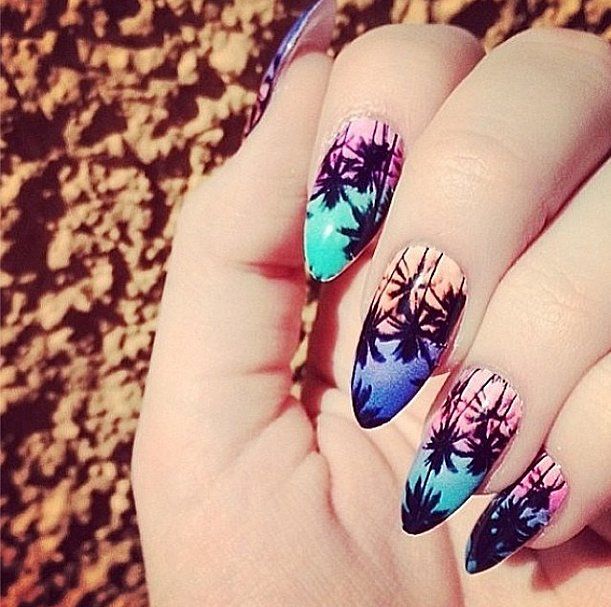
Photo via: mychicadventure.com
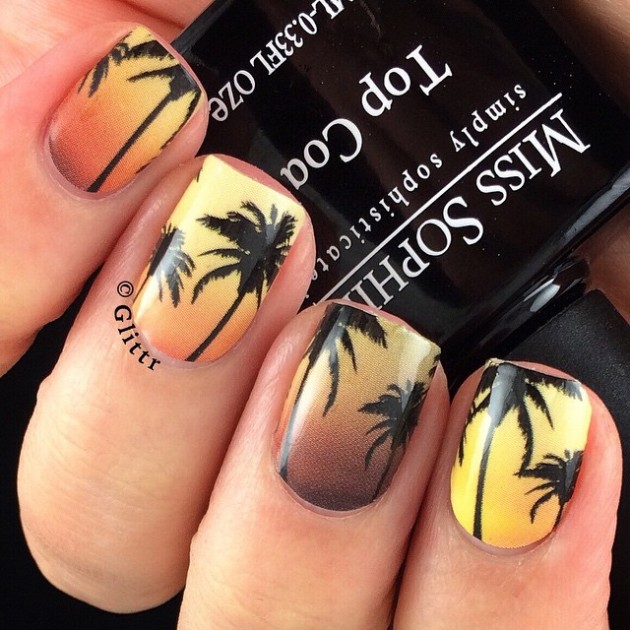
Photo via: ink361.com
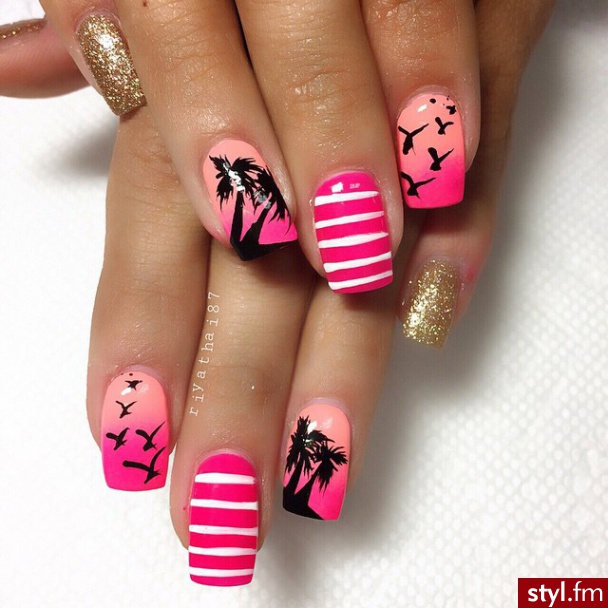
Photo via: styl.fm
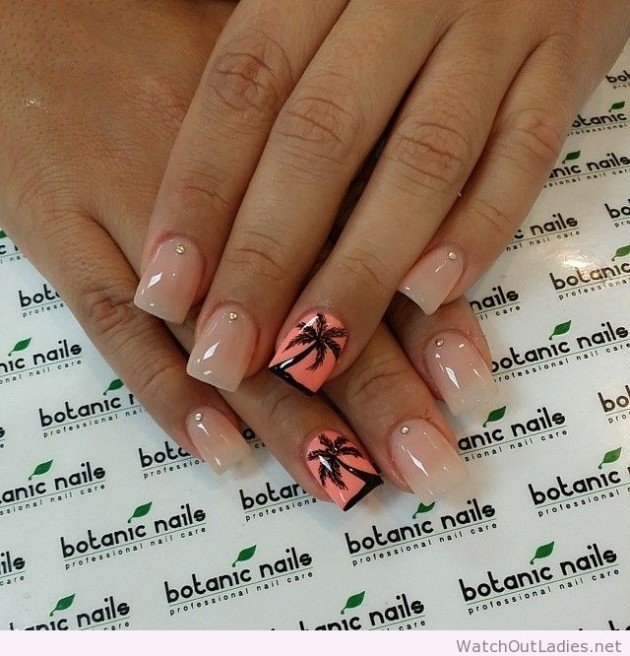
Photo via: watchoutladies.net
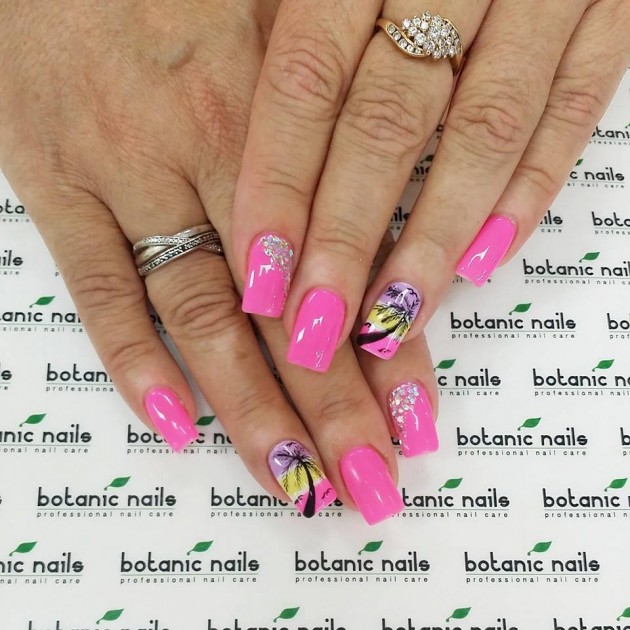
Photo via: bestmanikyur.ru
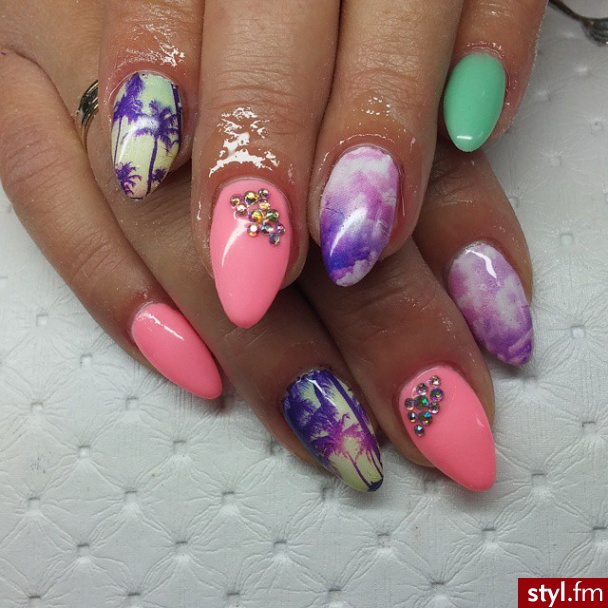
Photo via: styl.fm
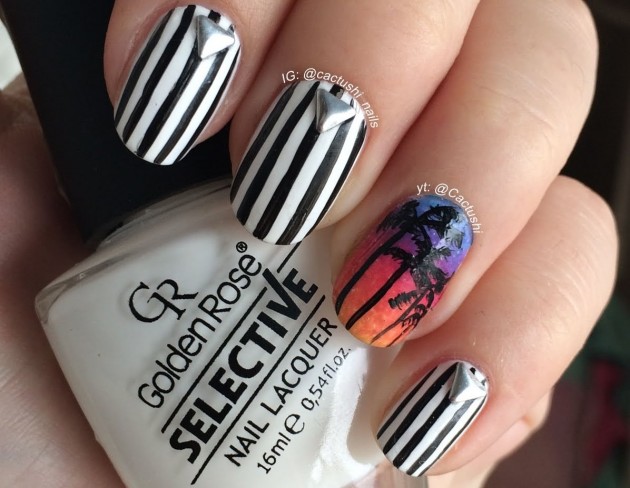
Photo via: youtube.com
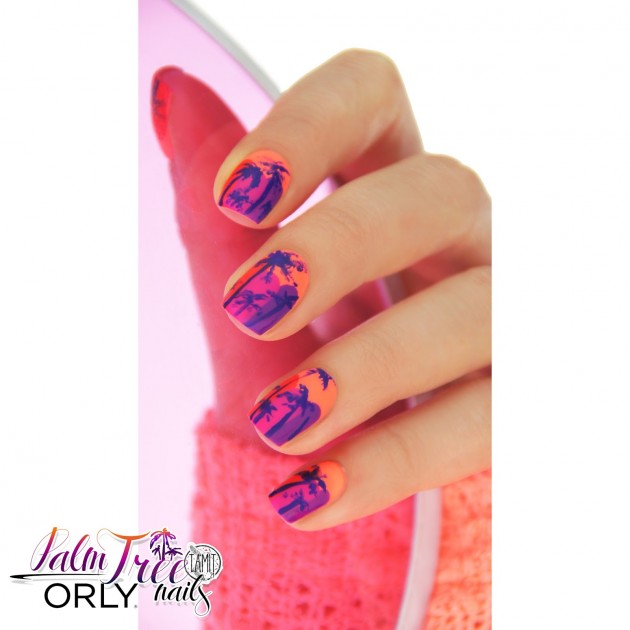
Photo via: fallinnailove.com
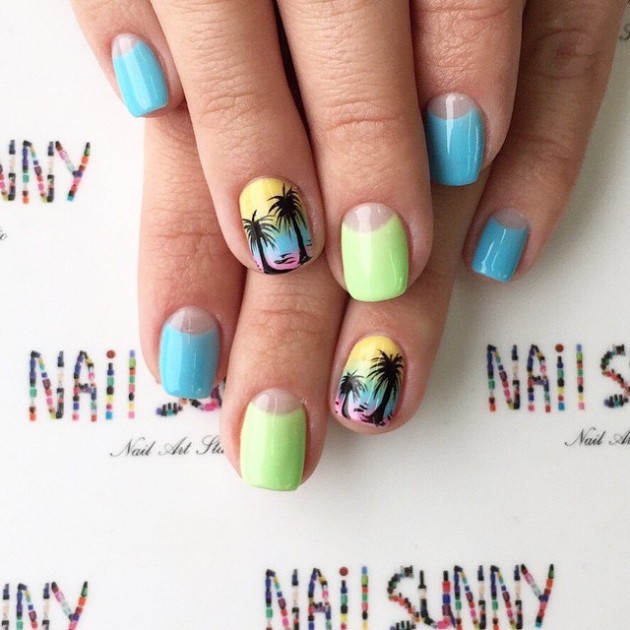
Photo via: vk.com
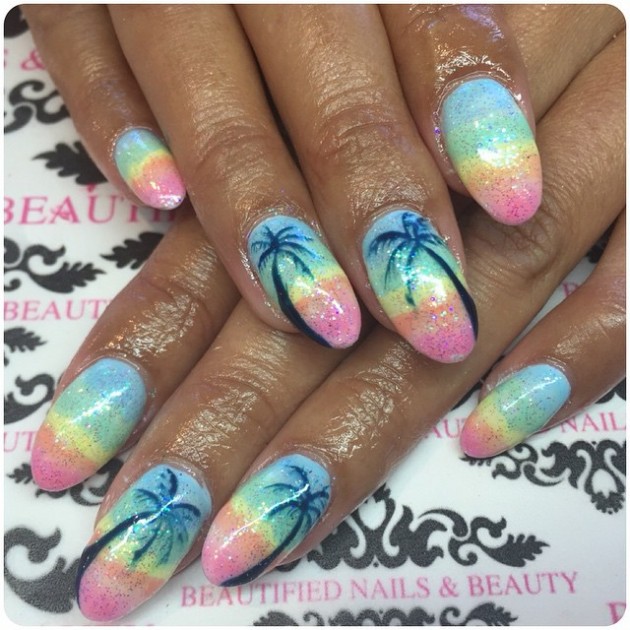
Photo via: websta.me
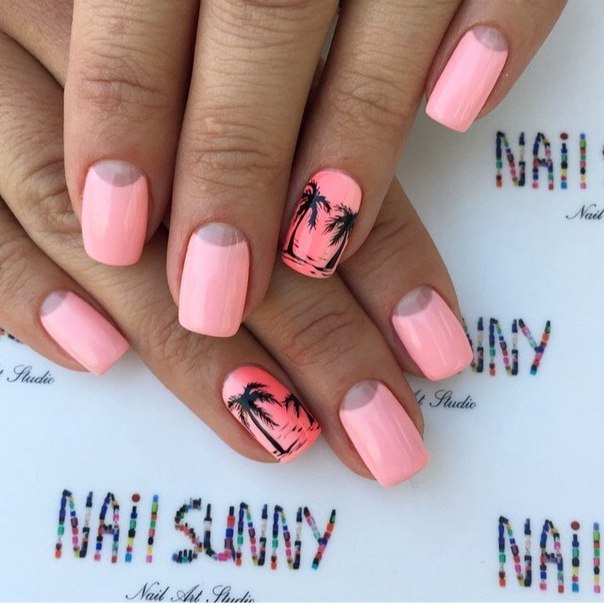
Photo via: vk.com
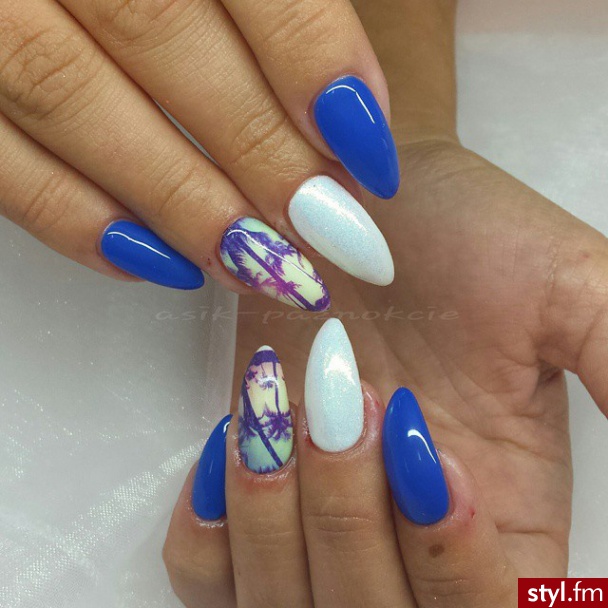
Photo via: styl.fm
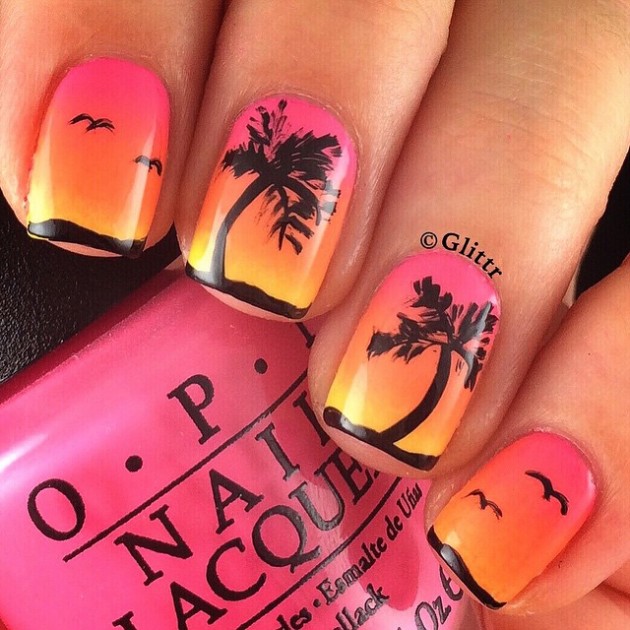
Photo via: ink361.com
Which palm tree design is your favorite? You can leave your comments in the comment section below, I would like to read them!
Thank you for reading! Enjoy in the rest of your day and stay up for more next time!