Hey my beautiful nail art lovers! We are here with another post with nail ideas that you are going to love. There are thousands of different nail design ideas and we are always in search for the best ones. Today, in the pictures below you will be able to find 17 super cute triangle nail art designs and a super simple tutorial for how to do them. Are you excited?
Have you seen triangle nails before? Like I said, they are so cute and the most important thing is that they are fairly simple and easy to do. To get the triangle nails all you will need is a top coat, two colors of nail polish,scissors and scotch tape. You can use any color you want. First prep your nails with a base coat and let it dry. Second thing you need to do is to paint your nails with one color and let it dry completely. Then take two pieces of scotch tape and arrange them in a triangle on the nail, so the tip of the triangle is a millimeter or two below the nail tip. Leave a bit of scotch tape sticking out past the cuticle so it’s easy to peel off. Now color in the triangle in the other color. When you’re done painting just remove the scotch tape and finish with topcoat.
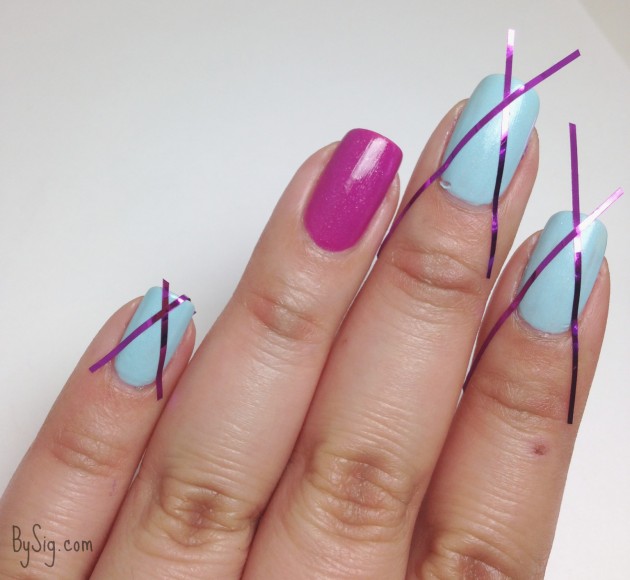
Photo via: bysig.com
For a perfect triangle nails here are some tips you need to follow:
1. It is a necessity to wait for each coat to dry before applying another, or applying scotch tape!
2. Quickly peel the scotch tape off because even if your base coat is completely dry it still might peel if you leave the scotch tape on too long.
3. Adding a top coat will blend the two layers so there isn’t a step up to the triangle.
So what are you waiting for? Check out the gallery below and inspire yourself. Pick the triangle nail art design that you like the most and embellish your nails. If you have any questions on how to do triangle nails, please don’t be afraid to ask.
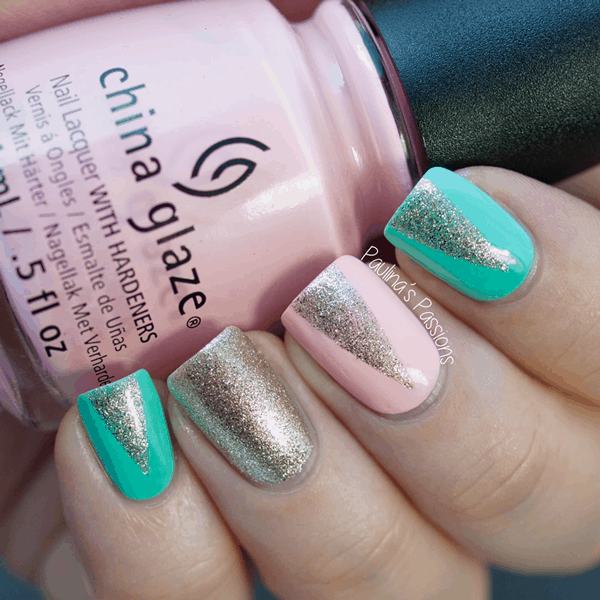
Photo via: paulinaspassions.com
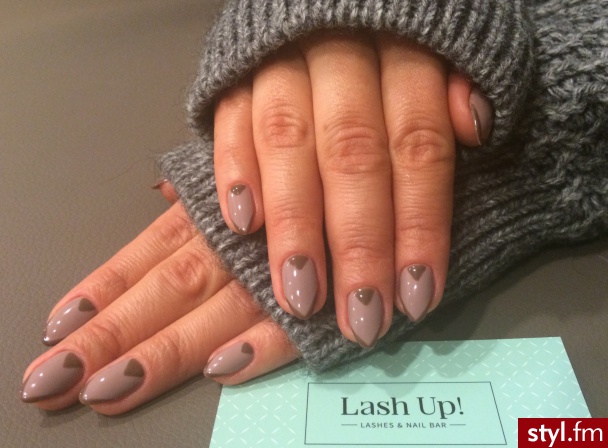
Photo via: styl.fm
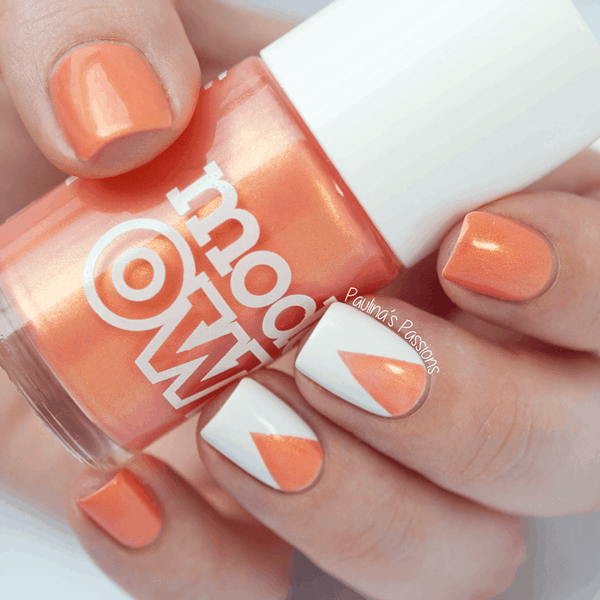
Photo via: paulinaspassions.com
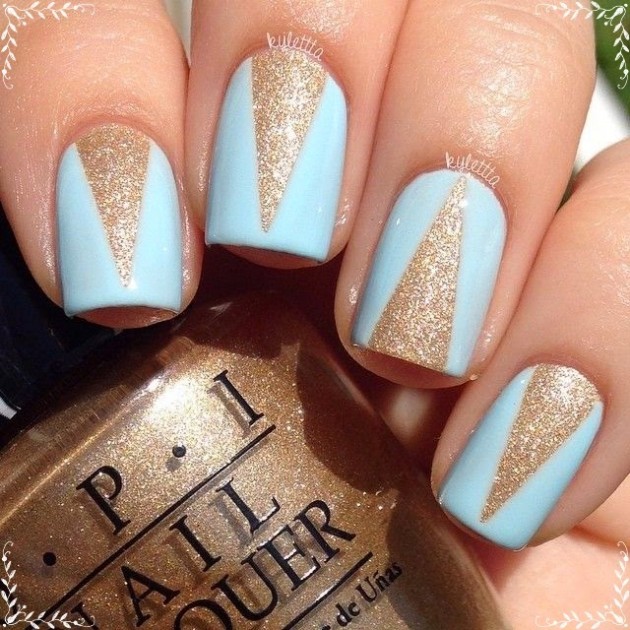
Photo via: milledicas.blogspot.com
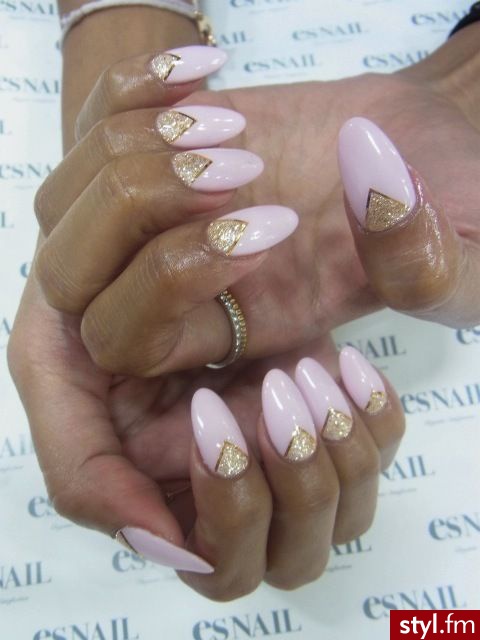
Photo via: styl.fm
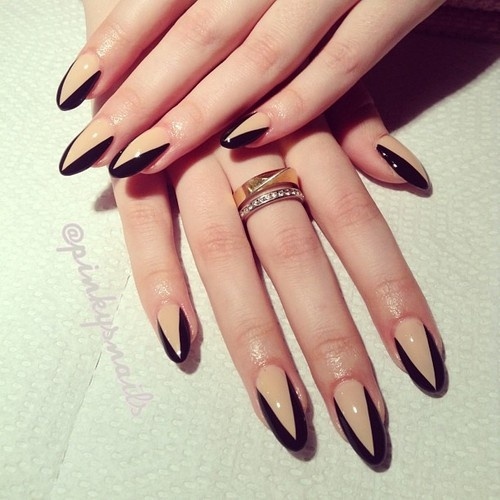
Photo via: callinamarie.buzznet.com
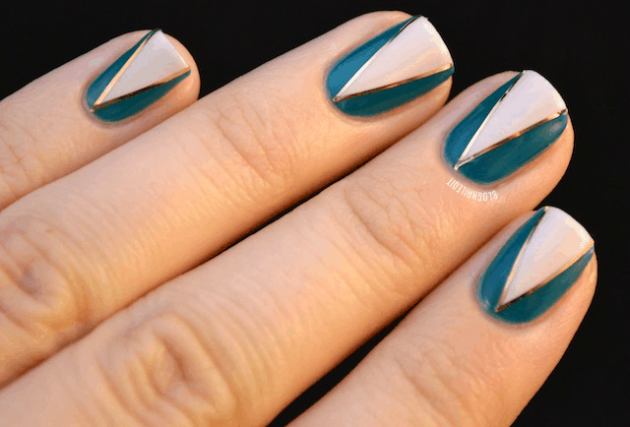
Photo via: blognailedit.co
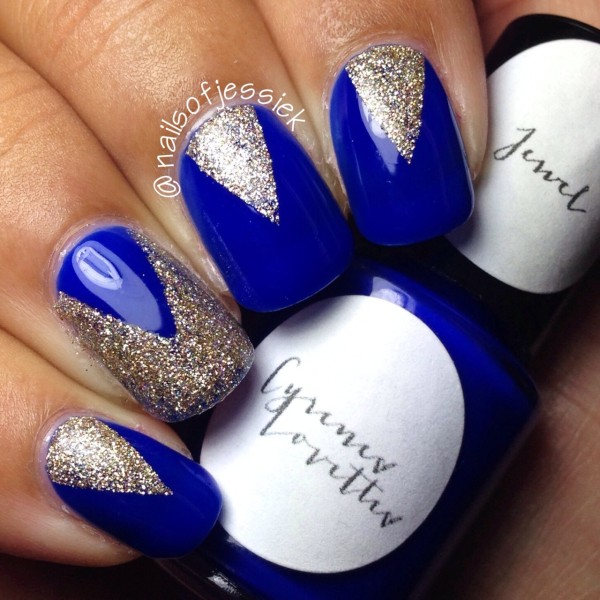
Photo via: allforfashiondesign.com
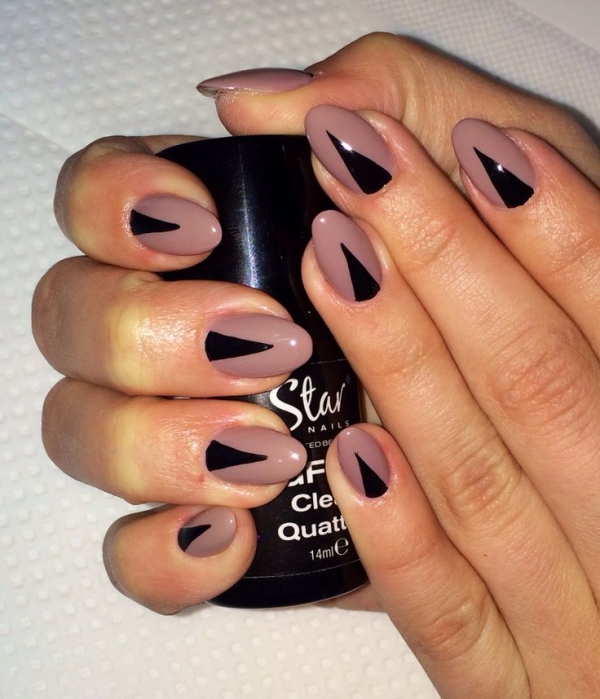
Photo via: indulgy.com
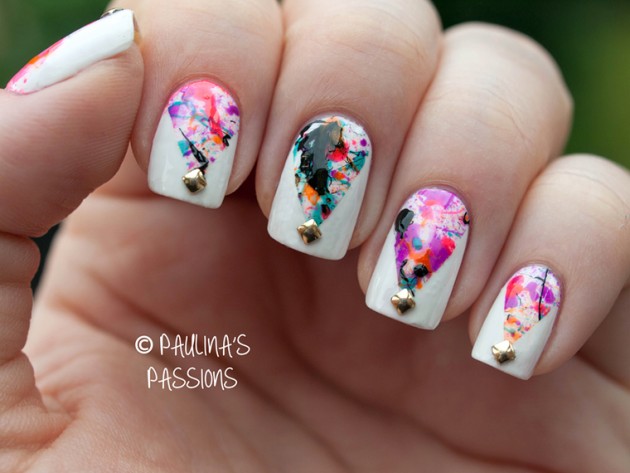
Photo via: paulinaspassions.com
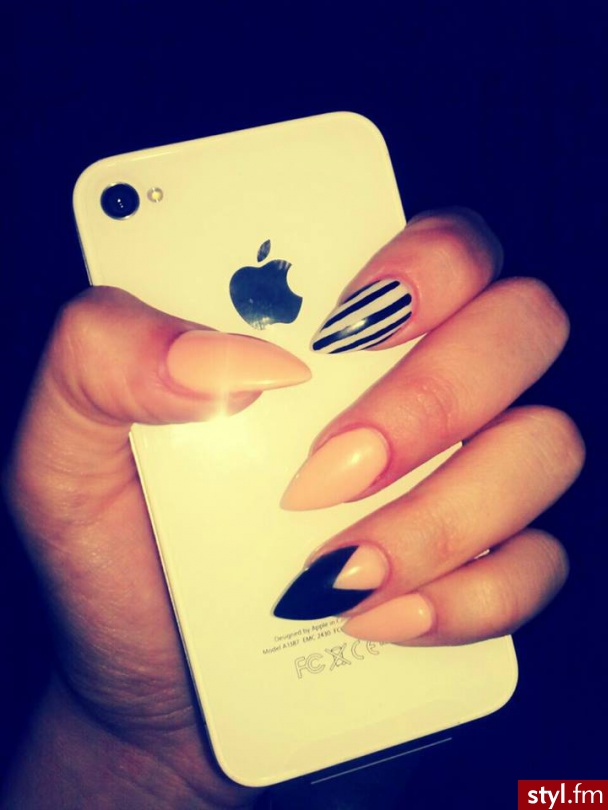
Photo via: styl.fm
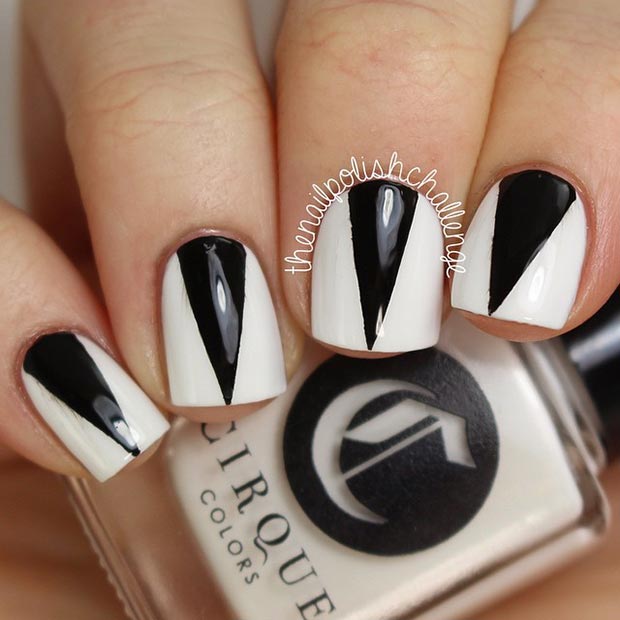
Photo via: stayglam.com
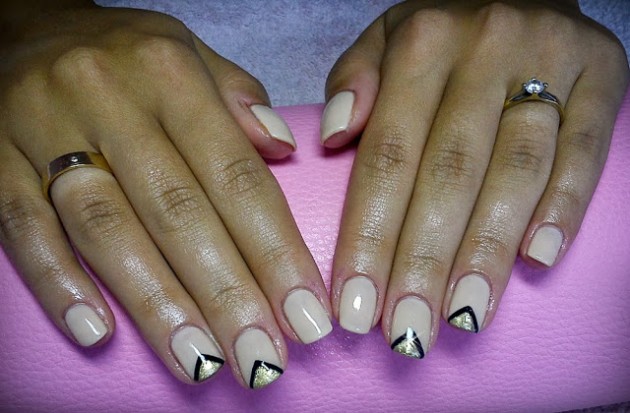
Photo via: myobses-sion.blogspot.com
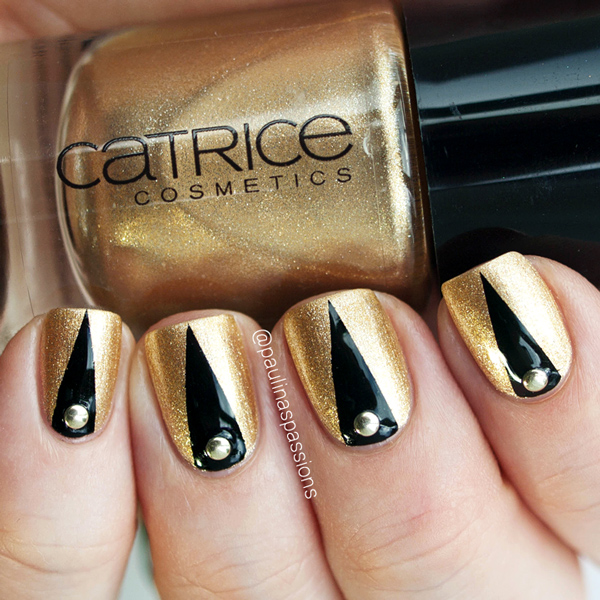
Photo via: paulinaspassions.com
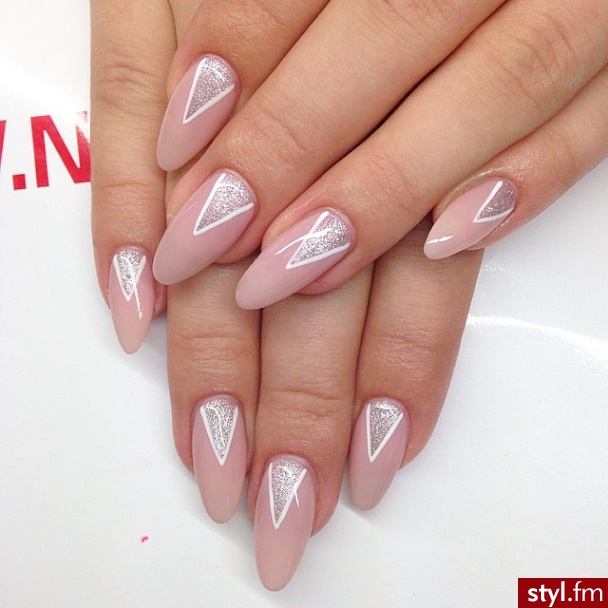
Photo via: styl.fm
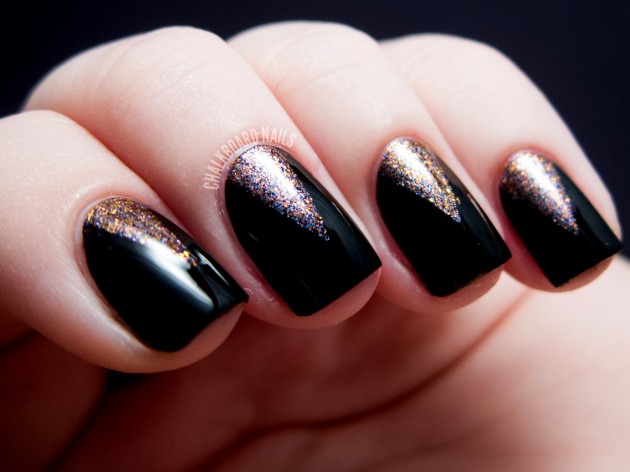
Photo via: nhave.com
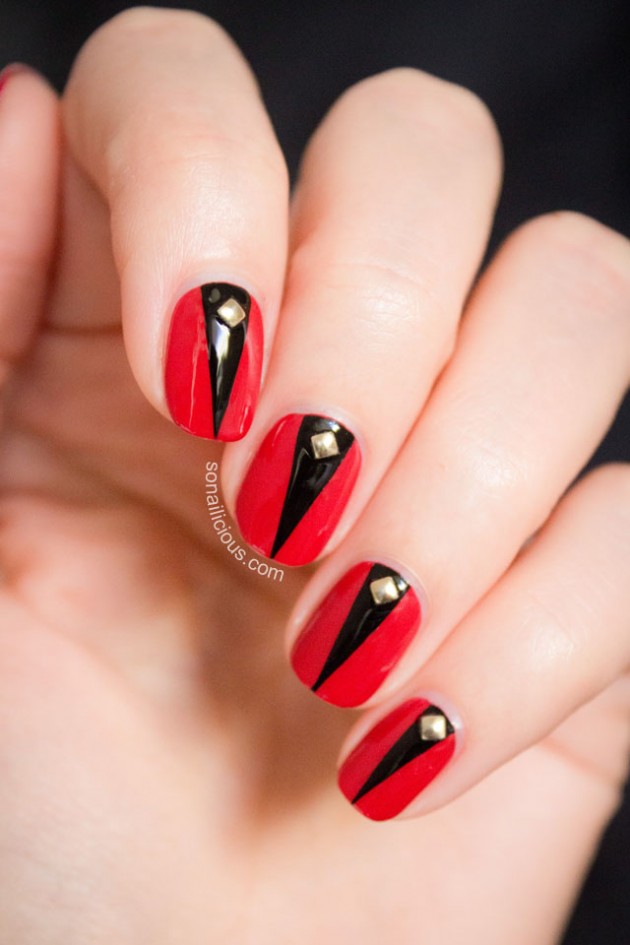
Photo via: sonailicious.com
Thank you for reading! Enjoy the rest of your day and stay up for more next time!